Car window tinting is not just a stylish upgrade; it offers numerous benefits, including UV protection, heat reduction, and enhanced privacy. If you’re considering tinting your car windows, understanding the installation process can help demystify the experience. In this article, we break down the car tint installation process step by step, ensuring you’re well-informed for your next automotive enhancement.
Step 1: Choose the Right Tint
Before you dive into installation, it’s crucial to select the appropriate tint for your vehicle. Consider the following factors:
- Legal Regulations: Different states have varying laws regarding window tint darkness and reflection. Research local regulations to ensure compliance.
- Type of Tint: There are various types of tint, including dyed, metalized, ceramic, and hybrid. Each offers different levels of heat rejection and UV protection.
- Brand Quality: Opt for reputable brands known for their durability and performance.
Step 2: Gather Your Tools and Materials
Having the right tools is essential for a successful installation. Here’s a list of what you’ll need:
- Window tint film
- Utility knife or razor blade
- Application solution (a mix of water and a few drops of dish soap)
- Squeegee
- Lint-free cloths
- Heat gun or hairdryer (optional)
- Measuring tape
Step 3: Prepare the Windows
Preparation is key to a smooth installation. Follow these steps:
- Clean the Windows: Thoroughly clean the windows with a glass cleaner to remove any dirt, grime, or grease. Use a lint-free cloth to avoid streaks.
- Remove Any Accessories: Take off any window visors or other accessories that might interfere with the tinting process.
Step 4: Measure and Cut the Tint
Now it’s time to cut the tint to size:
- Measure the Window: Use a measuring tape to get the dimensions of each window you plan to tint.
- Cut the Film: Roll out the tint film on a flat surface and cut it to size, leaving a small margin around the edges. This ensures the tint will fully cover the window.
Step 5: Apply the Tint
Applying the tint requires precision and care:
- Spray the Window: Generously spray the application solution on the window to allow the tint to slide into place.
- Peel the Backing: Carefully peel the backing off the tint film, exposing the adhesive side.
- Position the Film: Align the film with the top edge of the window and gently place it against the glass, ensuring it covers the entire surface.
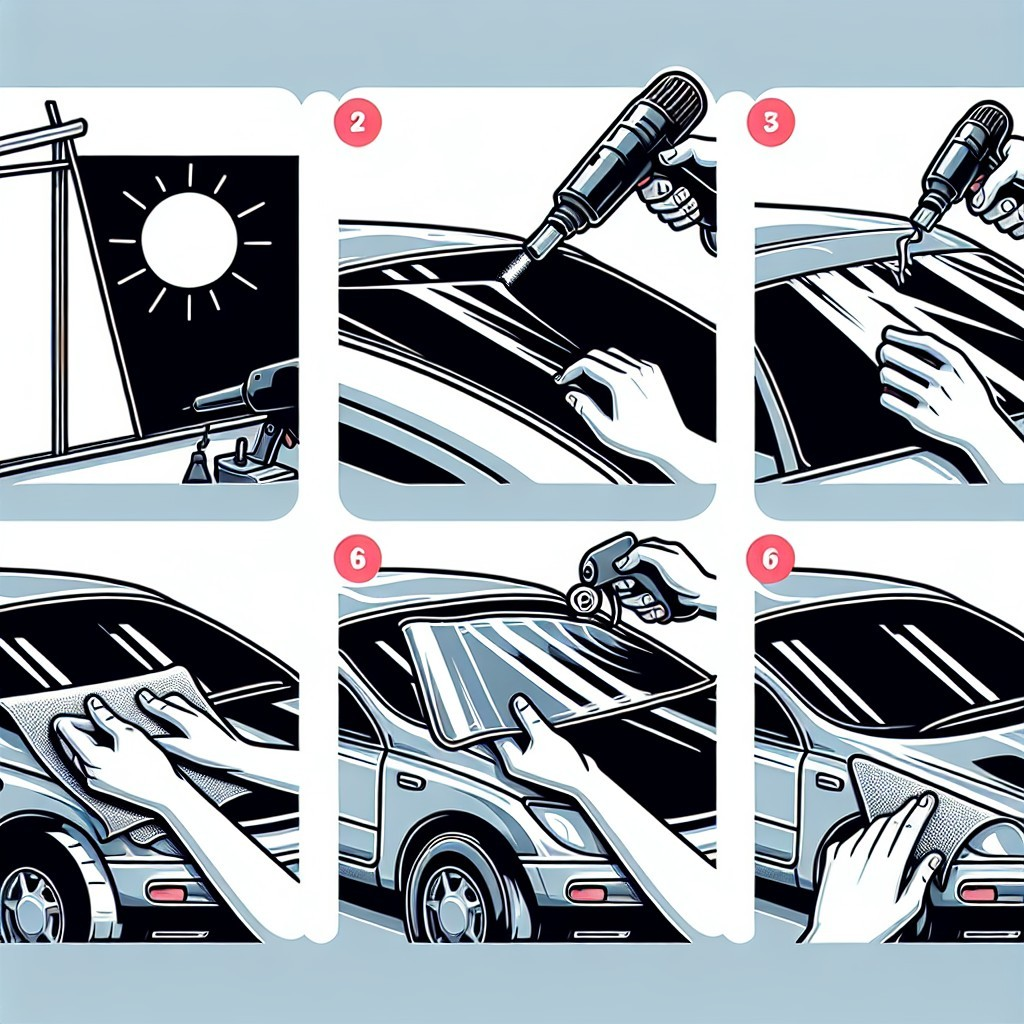
Step 6: Squeegee the Tint
Once the film is in place, it’s time to remove bubbles and excess solution:
- Squeegee Out Air Bubbles: Starting from the center, use the squeegee to push air bubbles and solution toward the edges. Apply firm but gentle pressure.
- Trim the Edges: Use a utility knife to trim any excess film around the edges of the window for a clean finish.
Step 7: Dry and Cure
After installation, allow the tint to dry and cure:
- Keep the windows rolled up for at least a few days to let the adhesive set properly.
- Avoid washing the car or rolling down the windows during this curing period.
Installing window tint can enhance your vehicle’s look while providing practical benefits. By following this step-by-step guide, you can ensure a successful installation, whether you’re doing it yourself or overseeing a professional job. Remember, patience and precision are key to achieving that sleek, tinted finish!
So, are you ready to transform your ride? Happy tinting!

This article made me realize how beneficial window tinting can be. I’m definitely considering it for my car now!
Love the tips on preparing the windows! Cleaning them properly is such an important step that often gets overlooked.
The information about different types of tint was particularly useful. I appreciate how detailed and clear everything is!
This article is incredibly informative! I had no idea there were so many factors to consider when choosing window tint. Great breakdown of the process!
I found the step-by-step guide very helpful. It makes the installation seem much less daunting now. Thank you for sharing!